The first thing you need to do is install and activate the WP Mail SMTP plugin.
Upon activation, you need to visit the Settings » WP Mail SMTP page to configure the plugin settings. Then, enter your license key and click the ‘Verify Key’ button. You can find the key in your WP Mail SMTP account area.

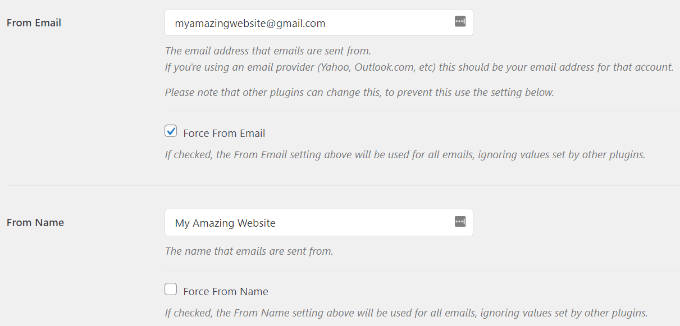
Under the General settings tab, you need to make sure that you use your Gmail email address in the ‘From Email’ field.
Next, you need to provide the sender’s name.

WP Mail SMTP plugin offers two ways to connect your WordPress site to the Gmail servers.
The first method uses OAuth Authentication. This is a more secure method to send emails using Gmail servers.
The second method is to enter Gmail SMTP settings manually. This method is not recommended because it is less secure.
That being said, let’s set up WordPress to use Gmail SMTP to send emails.
Method 1: Setting up Gmail to Send WordPress Emails using OAuth Protocol
This method is recommended for all users. It is more secure, and once you set it up, you’ll never have to do that again.
You need to start by selecting ‘Google/ Gmail’ as your mailer.
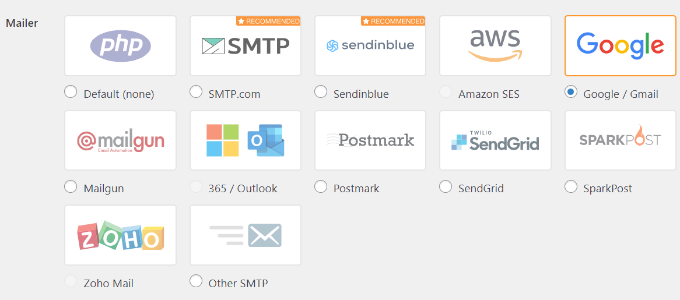
Next, you will see three fields you need to fill in when you scroll down.
Just enter your Client ID, Client Secret, and Authorized Redirect URI when you’re there.

Let’s set up these fields.
Creating an App and Generate API Keys for Gmail
To start, simply visit the Google Cloud Platform website.
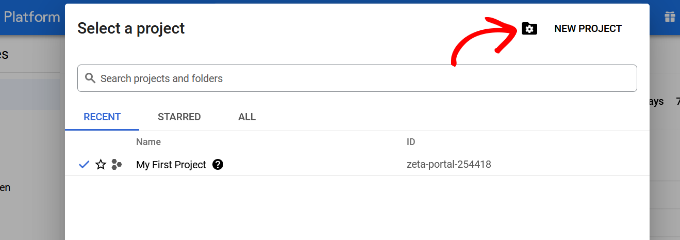
Then click on ‘My First Project’ at the top.

A small popup window will open where you can select your projects.
Go ahead and click on the ‘New Project’ option.
On the next screen, you’ll be asked to provide a name for your project.
Give it a memorable name so that you can easily recognize it in the future.

After that, click on the ‘Create’ button to continue.
The developer console will now create your project and take you to its dashboard. Google offers developers access to many of their APIs and services. You need to enable the APIs that you will need for this project.

Click on the ‘Enable APIs and Services’ button to continue.
This will bring you to the APIs library page. Next, you need to type Gmail in the search box to quickly find the Gmail API and click to select it.

You will now see an overview of the API and what it can do.
Simply click on the ‘Enable’ button to continue.

Now that your API is enabled, the next step is to create credentials that you can use in your WP Mail SMTP plugin settings.
Click on the ‘+ Create Credentials’ button to continue and select the ‘Help me choose’ option from the dropdown menu.
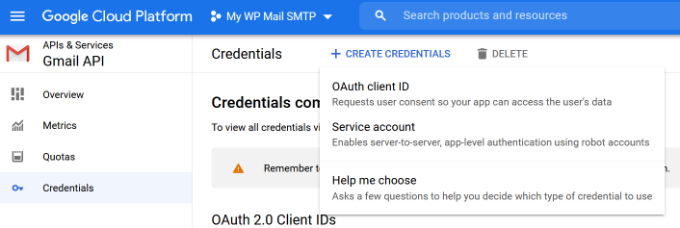
On the next screen, it’ll ask you which API you want to use.
Select ‘Gmail API’ from the dropdown menu for Which API you are using.

After that, choose ‘User data’ for What data you will be accessing.
From there, click the ‘Next’ button.

Now, you’ll need to enter your App’s information.
You can start by giving a name for your app, selecting the email address you provided, and adding an app logo if you want.

From there, you’ll need to scroll down and enter Developer’s contact information.
Once you’ve entered the email address, simply click the ‘Save and Continue’ button.

On the next screen, you can configure the ‘Scopes’ for Gmail API. This is an optional step, and you can skip this for now.
Simply scroll down to the bottom of the page and click the ‘Save and Continue’ button.

Next, go ahead and enter details for OAuth Client ID.
Start by choosing ‘Web Application’ as the Application Type from the dropdown menu and then enter a name.

When you scroll down, you’ll see options for Authorized JavaScript origins. You can skip this and head over to Authorized Redirect URLs.
Go ahead and click the ‘+ Add URL’ button under Authorized redirect URLs and enter https://connect.wpmailsmtp.com/google/ under the URLs field.

Once you’ve entered the URL, simply click the ‘Create’ button.
Next, you’ll see your credentials under the Your Credentials area.

Go ahead and click on the Done button at the bottom to move on.
You will now be taken to your project’s credentials page. On this page, you can see your recently created credentials listed here. You need to click on the edit icon next to your credentials to continue.
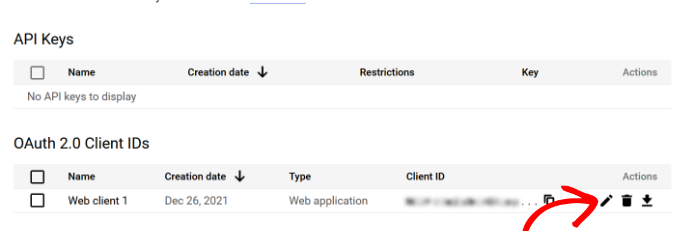
This will bring you to the edit credentials page, where you will be able to see your client secret and client ID.
You need to copy and paste the key into your plugin’s settings page.
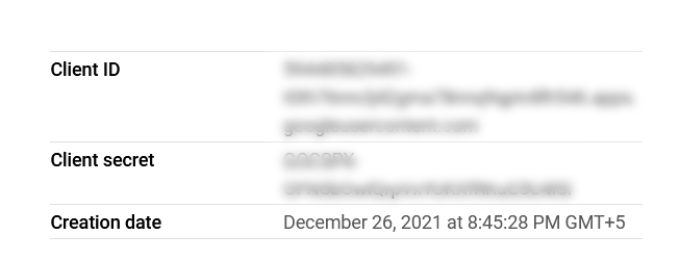
Return back to the plugin’s settings page in your WordPress admin area.
Now that you have both client ID and client secret keys, you need to click on the ‘Save Settings’ button to continue.
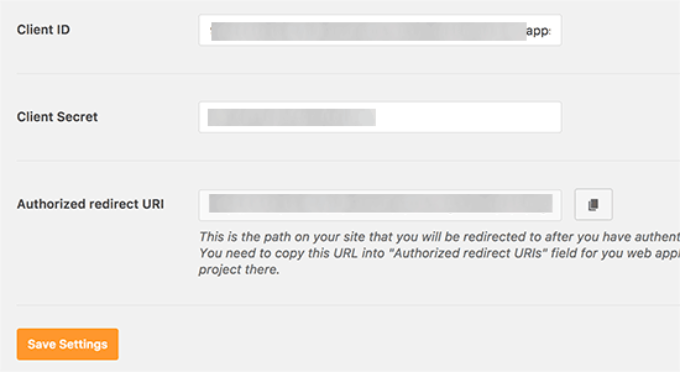
The plugin will now store your settings and reload the page.
After that, you need to scroll down to the bottom of the settings page and click on the ‘Allow plugin to send emails using your Google account’ button.

This will take you to your account on Google.
Then, you will be asked to give the website permission to send emails on your behalf.
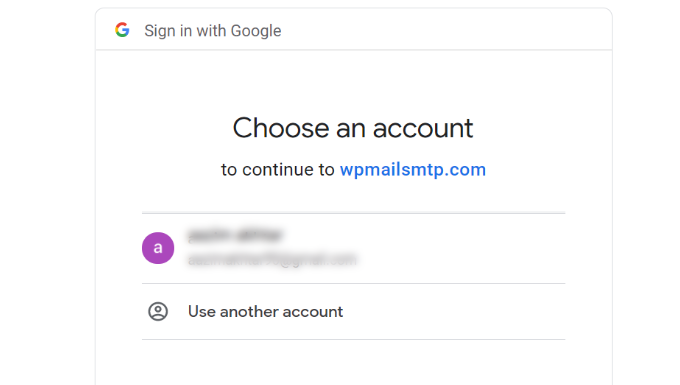
Simply select your Gmail account and give permission to link your Google API project.
After that, you will be redirected back to your website, where you will see a success message.

Method 2: Setting up Gmail SMTP as SMTP Sender
This method allows you to manually connect to Gmail’s SMTP servers to send your WordPress emails.
First, you need to visit the Settings » WP Mail SMTP page to configure the plugin settings.
Start by providing the Gmail address you want to use in the ‘From Email’ field and your name in the From ‘Name’ field.
Next, you need to select ‘Other SMTP’ as your mailer.
Also, check the box next to the return path.
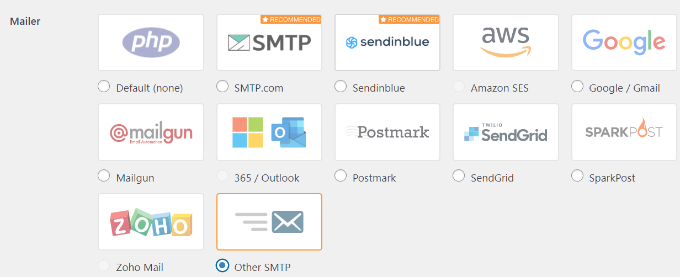
After that, scroll down to the Other SMTP section.
This is where we’ll configure more settings to connect to Gmail’s SMTP servers.

Here is the exact configuration you need to add to the plugin settings:
- SMTP Host: smtp.gmail.com
- Encryption: Use SSL encryption
- SMTP Port: 465 (this should automatically appear when you select SSL encryption)
- Auto TLS: Turn off TLS
- Authentication: Turn on authentication
- SMTP Username: Your complete Gmail address, e.g. john.smith@yourdomain.com or john.smith@gmail.com
- SMTP Password: Password of your Gmail account
Once you are done, click on the save changes button to store your settings.

That’s all; you have successfully set up WP Mail SMTP to use Gmail SMTP servers.
Note: If you use method two, please know that it’s less secure because your password is stored in text. You can enhance this by using the constant tip, but we strongly recommend using Method 1.
Testing Your WP Mail SMTP Settings
WP Mail SMTP plugin allows you to test your email settings so you can make sure that everything is working properly.
You need to visit the Settings » WP Mail SMTP page and click on the ‘Email Test’ tab. Simply provide an email address that you can access in the ‘Send To’ field and click on the Send Email button.

You will see a success message. You can now check your inbox to see a message with the subject line ‘WP Mail SMTP: Test Email to…’.
That’s all; you have successfully set up your WordPress site to send emails using Gmail SMTP servers.
